Data Package: Online Testing |
|
Role: Account Holder or Administrator |
When you deactivate a roster, you will no longer be able to select it when you set up new test events. Typically, you deactivate a roster when the data becomes outdated, such as the beginning of a new school year.
For example, in the current school year, students in grade 3 are associated with specific grade and class assignments. In the next school year, most (if not all) students will advance to grade 4 and will be associated with new grade and class assignments. Before you can create a new test event to administer tests in the next school year, you will need to submit a new Student Data File with the new grade and class assignments to Riverside Insights® so your roster will be accurate (see Creating and Submitting Data Files or more information). You should also deactivate the outdated roster so it is no longer available to select when you are creating the new test event.
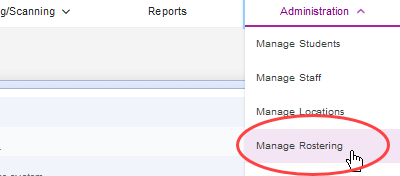
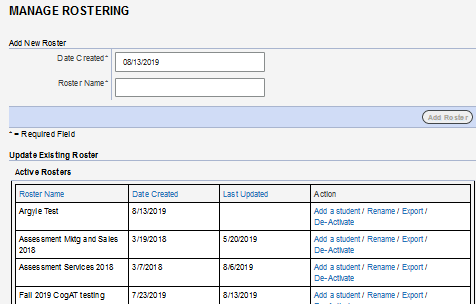
1. From the top navigation bar (of any page), select Administration > Manage Rostering.
The Manage Rostering page opens.
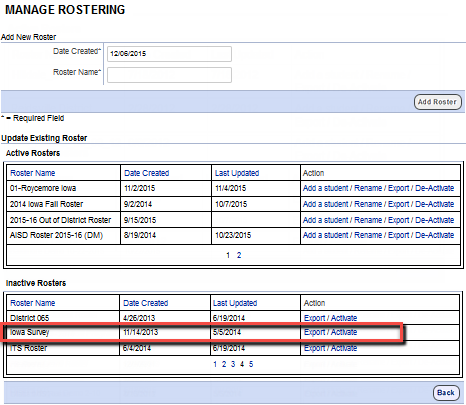
2. In the Update Existing Roster area, locate the roster you want to deactivate in the Active Rosters list.
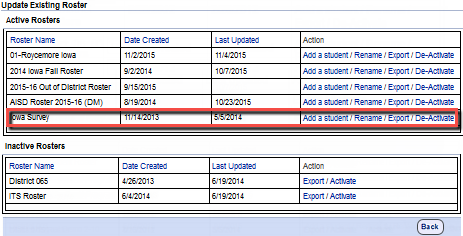
3. In the Action column for the roster you want to deactivate, click De-Activate. The roster appears in the Inactive Rosters list.