Data Package: Online Testing |
|
Role: Account Holder or Administrator |
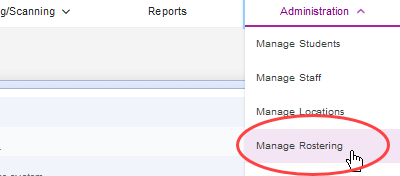
1. From the top navigation bar (of any page), select Administration > Manage Rostering.
The Manage Rostering page opens.
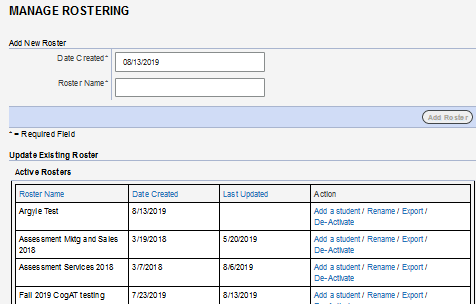
2. Locate the roster to which you want to add a student and, in its row, click Add a student.
The Add Student page opens. Fields with an asterisk (*) are required.
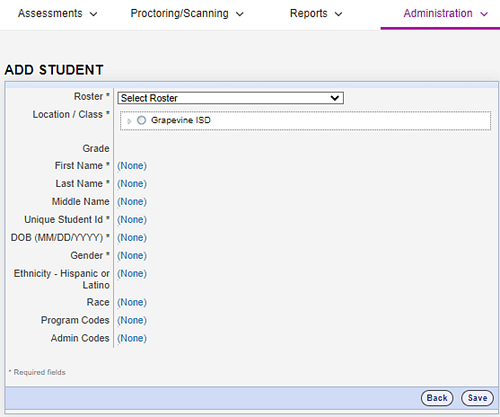
3. In the Roster list, select the name of the roster to which you want to add the student.
4. In the Location/Class list, select the location level to which you want to assign the student. You must assign the student to a class-level location. Click the right arrow to expand the hierarchy, the down arrow to collapse the hierarchy. The Grade field automatically displays the grade number based on the class-level location.
5. Enter student information by clicking (None) for a field and typing or selecting a value.
– For the Unique Student Id field, the student identification code may be up to 10 characters in length and use any combination of alphanumeric characters, blanks, and dashes.
– In the DOB (MM/DD/YYYY) field, if you enter a date of birth that is out of range for obtaining age-based scores, a warning message appears. Verify that the date of birth you entered is correct.
– Enter information, as needed, in the optional fields. This information may be used for filtering data in student exports and reports..
6. Click the Save button, then click OK on the confirmation message. The information for the student is entered in the system, and the page reloads with blank fields. To add another student, repeat this procedure. To return to the Manage Rostering page, click the Back button.