Data Package: Online Testing |
|
Role: Account Holder or Administrator |
Note: Only individuals with Account Holder and Administrator roles can add a student to a roster.
A roster determines the groups in which students are tested and the way data is reported. Riverside Insights® creates rosters for you based on the student and location data you provide.
Changes to the roster can occur for several reasons:
● A family recently moved to the school system
● A school system contains a transient population, such as migrant farm workers
● There were administrative errors in the initial submission of student data for the roster
The Add a walk-in Student feature allows Account Holders and Administrators to quickly add a student to an existing roster.
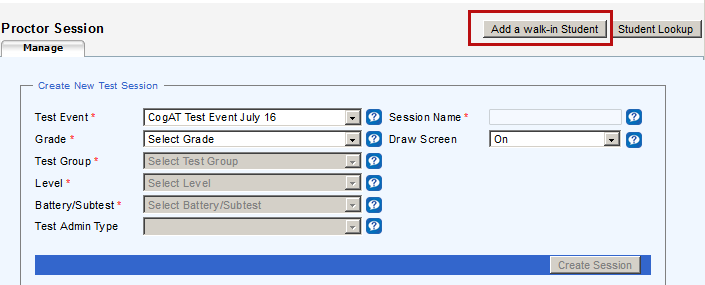
1. Click the Add a walk-in Student button located in the upper right of the Proctor Session page.
The Add Student page opens.
Note: Fields with an asterisk (*) are required.

2. In the Roster list, select the roster you want to modify.
3. In the Location/Class list, select the class to which you want to assign the student.
Note: For the remaining fields, click (None), then type or select values.
4. Type entries for the student's First Name and Last Name fields, and enter a Middle Name if available.
5. In the Unique Student Id field, type the student's identification number (provided by the school). Student ID numbers can be any combination of alphanumeric characters and dashes not to exceed 10.
6. In the DOB (MM/DD/YYYY) field, type the student's date of birth. You must enter the date of birth in MM/DD/YYYY format.
7. In the Gender field, select the student's gender.
8. (Optional): Enter information in the remaining optional fields.
9. Click Save. A confirmation message informs you that the student has been successfully added to the roster.