Editing Notes in an Assessment
To Edit a Note That Was Added to an Assessment
1. Use the Search feature to locate a child record, and then click the Test button ( ) in the results row of the child. The Assessment page for the child opens.
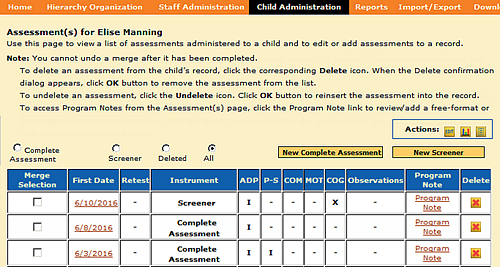
2. Click the date that the assessment began in the First Date column. The assessment record from that date opens.
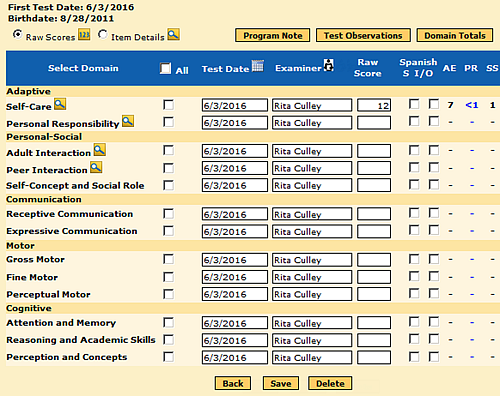
3. Click Item Details at the top of the results table. The Delete button changes to a Next button at the bottom of the page.
4. Select the domain or subdomain that includes the note you want to edit. Scroll to the bottom of the page and click the Next button. The Edit page opens for the item details view of the domain/subdomain.
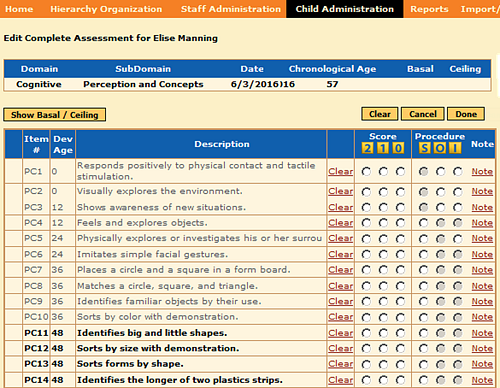
5. Locate the item that includes the note you want to edit and click the Note link in its row. Make the changes in the Note text box and click the Save button to update the note.
6. Click the Done button at the top of the table to update the record.
Editing a Head Start Note
To edit a Head Start note in a child record
1. Use the Search feature to locate a child record, and then click the Head Start Note button ( ).
).
2. From the list of existing notes, select the date on which the note was made.
3. Select the domain from the list. The existing note appears in a note text box.
4. Enter changes to the text, examiner, or date.
– To change the text of the note, type over the existing text.
– To change the name of the examiner, type a different name in the Examiner text box or click  and select the examiner’s name from the list. To search for an examiner’s name in the list, enter First Name, Last Name, and/or Site Name information and click the Search button.
Click the radio button to select the examiner’s name and then click the Select button to insert it in the Examiner text box.
– To enter a different date, click the date selection icon ( ) and select the date from the calendar.
5. Click the Save button to update the note.