Importing Data imports organization, staff, or student information from files that your organization creates and uploads to Data Manager.
Note: Information must be saved in a comma or tab delimited file before you can import it, and the information must be organized in a sequence that matches the headers in the Data Manager database. For assistance in preparing your information for import, see the Preparing Information to Import Into Data Manager online help topic.
To import information into Data Manager:
1. From the Import/Export menu, select Import. The Import page opens.
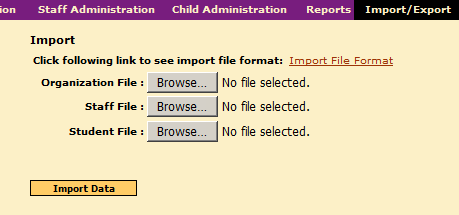
2. Click the Browse button corresponding to the information you want to import. (For example, select the button beside Student File to import students.)
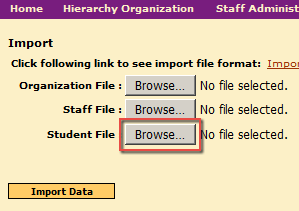
3. Follow your browser's prompts for finding and selecting the file you have prepared. The filename appears beside the Browse button you selected.
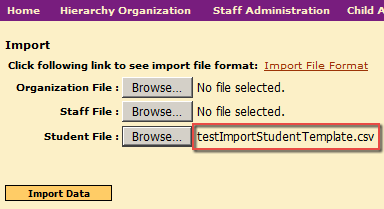
4. Click the Import Data button. If your import is successful, a success message appears in the log from your import.
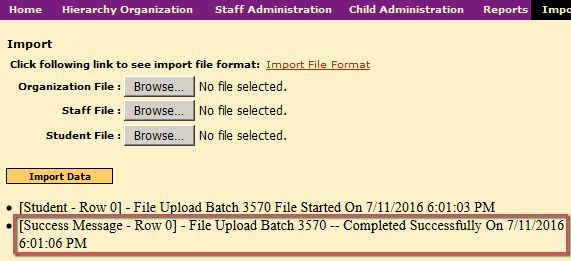
The system will produce the new information when you conduct a search on, for example, a new student or staff member.
If your import is unsuccessful, an Errors Found message appears with a log describing the errors that prevented your data file from loading.
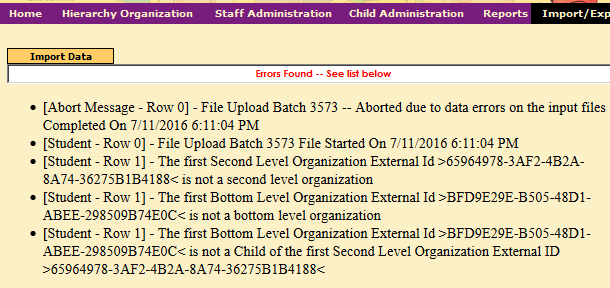
Review your import file using the tips and procedures for preparing your data for importing, correct any errors, and then resubmit the data file.
If your own review and resubmission of the data fails to achieve a successful import, please contact Technical Support.