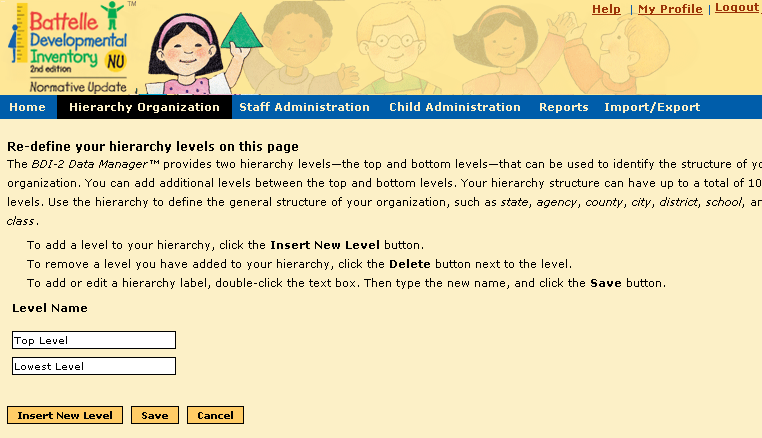
Defining the hierarchy or structure of your organization allows you to quickly organize and retrieve data and manage staff and child records; however, you do not have to create a hierarchy or organization to enter new assessments and produce reports.
The BDI-2 Data Manager provides two hierarchy levels—top (root) and bottom—that can be used to identify the structure of your organization. You can add levels between these two, up to a total of 10 levels.
Important: Match
your organization's hierarchy as closely as possible to the way users
are structured in the organization, their access, roles, and tasks. Although
you can delete or add levels after your organization begins testing and
adding data, these changes cause reallocations of licenses and reassignments
of individuals. (For details, see Changes
to the Hierarchy and Assigning
MDS Licenses to Staff.)
State organizations generally use five or six levels. Smaller organizations
might use two or three.
Do not use the hierarchy to name specific locations, staff members, or groups, such as Carpenter Elementary or Ms. Smith’s Pre-K Group. This information should be added in the Organization Management section.
Instead, use the hierarchy to define the general structure of your organization, such as state, agency, county, city, district, school, and class.
To define the levels in your hierarchy, click Hierarchy
Organization > Hierarchy Management.

When the hierarchy page opens, do one of the following.
● To add a level to your hierarchy, click Insert New Level. See detailed instructions.
● To edit an existing hierarchy label, double-click inside the text box. Type the new name and click Save.
● To remove a level you have added to your hierarchy, click Delete next to the level. See detailed instructions.
● To close the Hierarchy Management page without saving changes, click Cancel.