Data Package: Online Testing |
|
Role: Account Holder, Administrator, Teacher, or Proctor |
If you do not have a session code or do not know your session code, you can sign in to the Proctor application from the DataManager Sign In page.
1. Launch DataManager by entering the following URL in your browser address field: https://www.riversidedatamanager.com/BalancedManagement/user/signin.
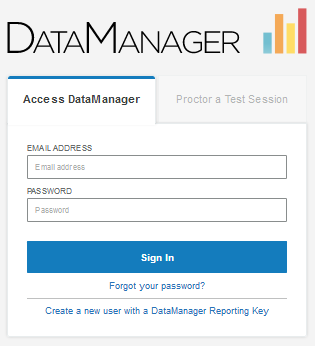
The Sign In page opens to the Access DataManager tab.
2. Enter your user name (email address) In the EMAIL ADDRESS field and your password in the PASSWORD field.
3. Click Sign In.
– If you are assigned the Proctor role, the Proctor Session page opens. The Manage tab displays all of your current and expired test sessions. Continue by Downloading Detailed Instructions, Opening a Test Session, or Creating a Test Session.
– If you are assigned the Account Holder, Administrator, or Teacher role, the Overview page opens. To access the Proctor application, continue with step 4.
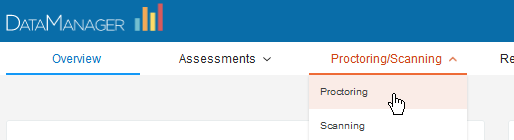
4. If your account has the option of testing students using either optical mark recognition (OMR) or online testing, the Proctoring/Scanning heading shows. Select Proctoring from the drop-down menu. Otherwise, select the Proctoring heading.
Note: You can also select Launch Proctoring from the Proctoring card in the right column of the Overview page or Proctoring from the site map that generates when you click the Site Map link in the bottom right corner of every page.
The Proctor Session page opens to the Manage tab.
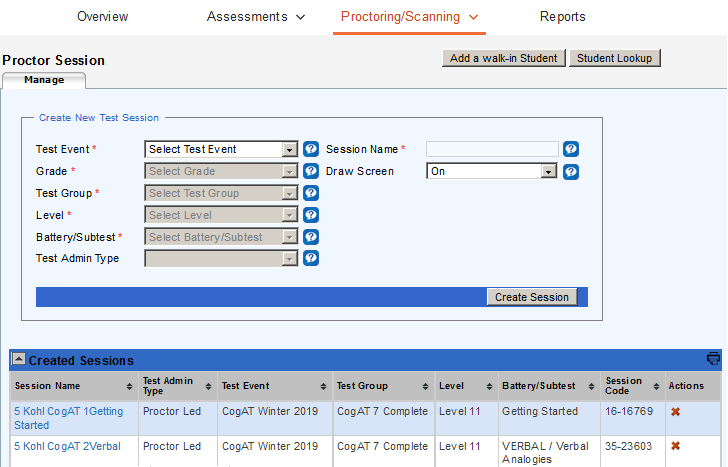
From here, you can:
– Download detailed instructions for administering your test and level.
– Create a test session.
– Open a test session.
– Export test session lists to an Adobe® Acrobat® file.
– Delete a test session.
– View any expired sessions (under the Expired Sessions bar).
Note: If your DataManager proctor session is idle for 40 minutes, a message prompts you to continue or cancel the current session. Click Continue to remain signed in to the current session or Cancel to sign out of DataManager.